Our Workshop and Equipment
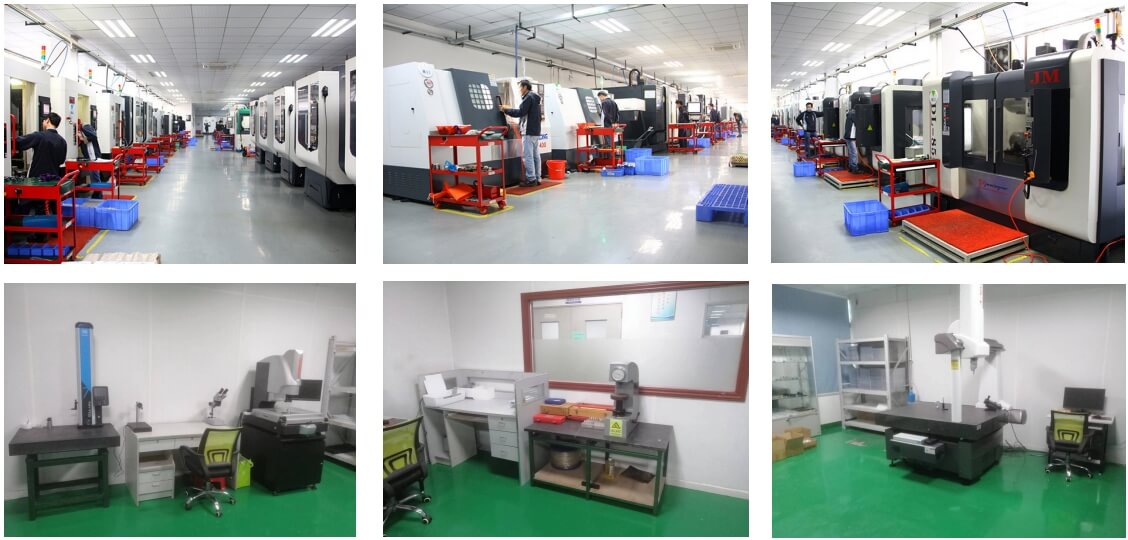
WSF Professional development, production and manufacturing of various ic test sockets, burn-in Sockets, PCB burn-in boards and various IC test fixtures, providing semiconductor testing solutions. It now has more than 70 sets of various machining equipment, 60 + workshop technicians and operators, CNC (milling) station, lathe station, milling machine station, wire cutting position, grinder station, etc. the workshop has a perfect cost control system and process management System and quality control system.
Featured Equipment
Since the initial stage of business, the philosophy of WSF is to always support the production and research and development of customers’ products. No matter Parts or sub-processing of products, WSF are constantly adding equipment to improve production quality and efficiency. To do the best customer demand is our expectation, through the continuous improvement of equipment and technical personnel expansion, the introduction of talent concept is also the new vitality of enterprise development.
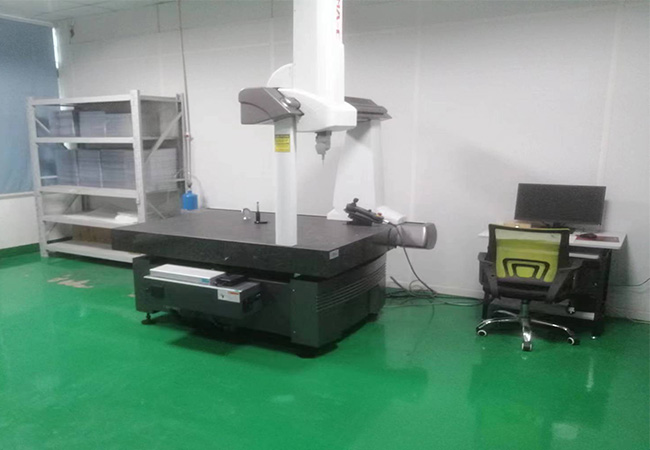
3D Measuring Instrument
A three-dimensional measuring instrument mainly refers to an instrument that measures by taking three-dimensional points. There are also called three-coordinates, three-coordinate measuring machines, three-dimensional coordinate measuring instruments, and three-dimensional ones on the market. The main principle is: the measured object is placed in the three-dimensional measurement space, and the coordinate position of each measuring point on the measured object can be obtained. According to the spatial coordinate values of these points, the geometric size, shape and position of the measured object can be calculated . The basic principle is to obtain the discrete spatial point positions of the measured geometric elements through the cooperation of the detection sensor (probe) and the motion of the measurement space axis, and then complete the analysis and simulation of the measured points (point groups) through certain mathematical calculations. Finally, the measured geometric elements are restored, and the deviation between them and the theoretical value (nominal value) is calculated on this basis, so as to complete the inspection of the measured part.
